

I'm sure by now every working video editor has had to make different versions of their edits with a square or [insert weird aspect ratio here] format.
Usually this involves duplicating the timeline, changing the timeline settings, and reframing most shots to fit the narrower frame.
Usually this involves duplicating the timeline, changing the timeline settings, and reframing most shots to fit the narrower frame.
And this can become a bit of a nightmare when the edits aren't locked in, and any change to the main edit needs to be manually rippled to the other version(s).
But here's a quick written tutorial (because I hate watching video tutorials) on one way to avoid dealing with multiple versions.
Here's my start project:
Here's my start project:
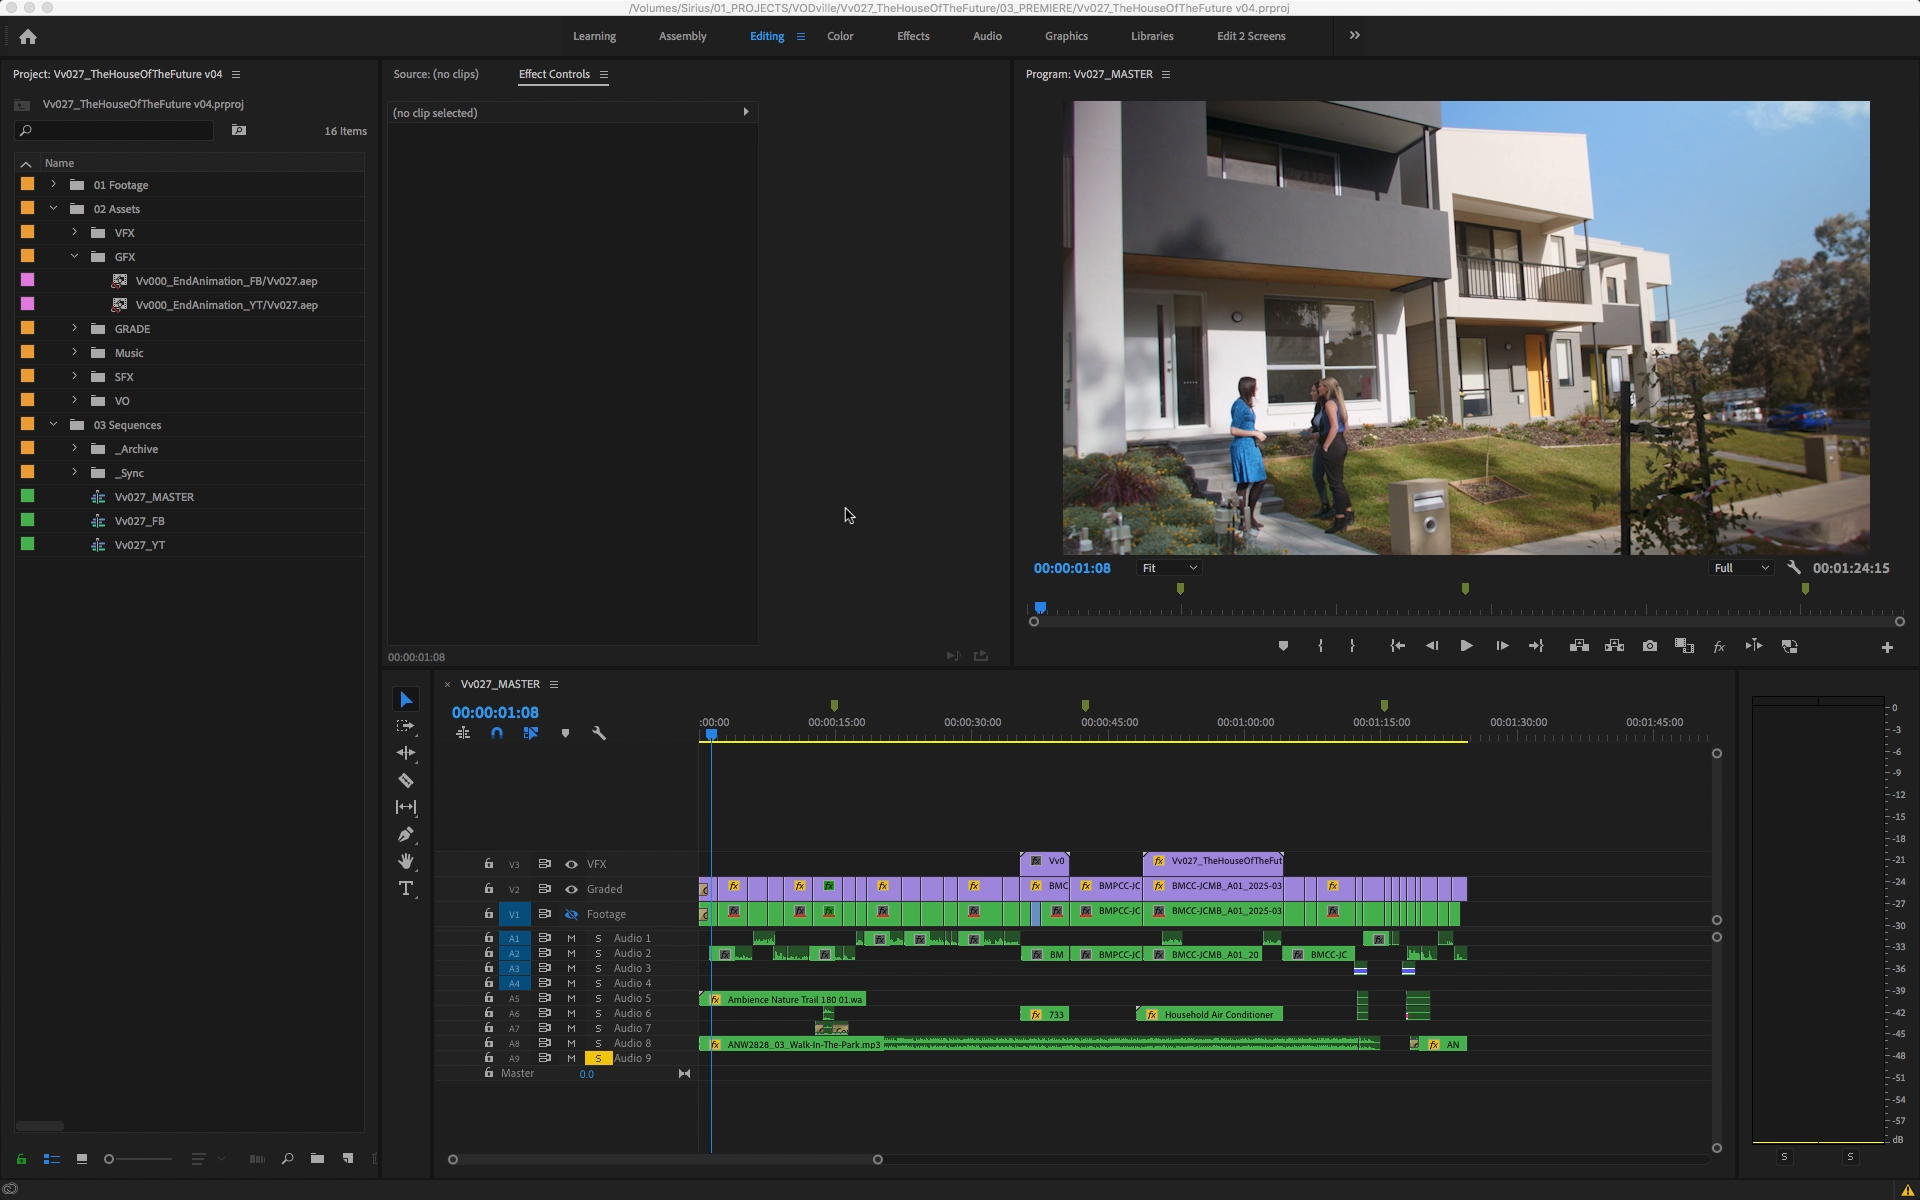
This is a 16:9 version of a sketch that needs a square version for social media.
My usual workflow is to edit in Premiere, send an XML to Resolve for grading, and output the graded shots with handles at the original size to online back in Premiere, where I lay my graded footage (in purple) on top of the ungraded (in green).
As I mentioned one way to do this is to just duplicate the timeline, change the Sequence Settings to 1080x1080 and start going through the edit to reframe each shot. But by adding a mask (which in my case is a transparent 1980x1080 PSD/PNG with a 1080x1080 'hole'), and underneath it an adjustment layer with a 'Transform' effect.

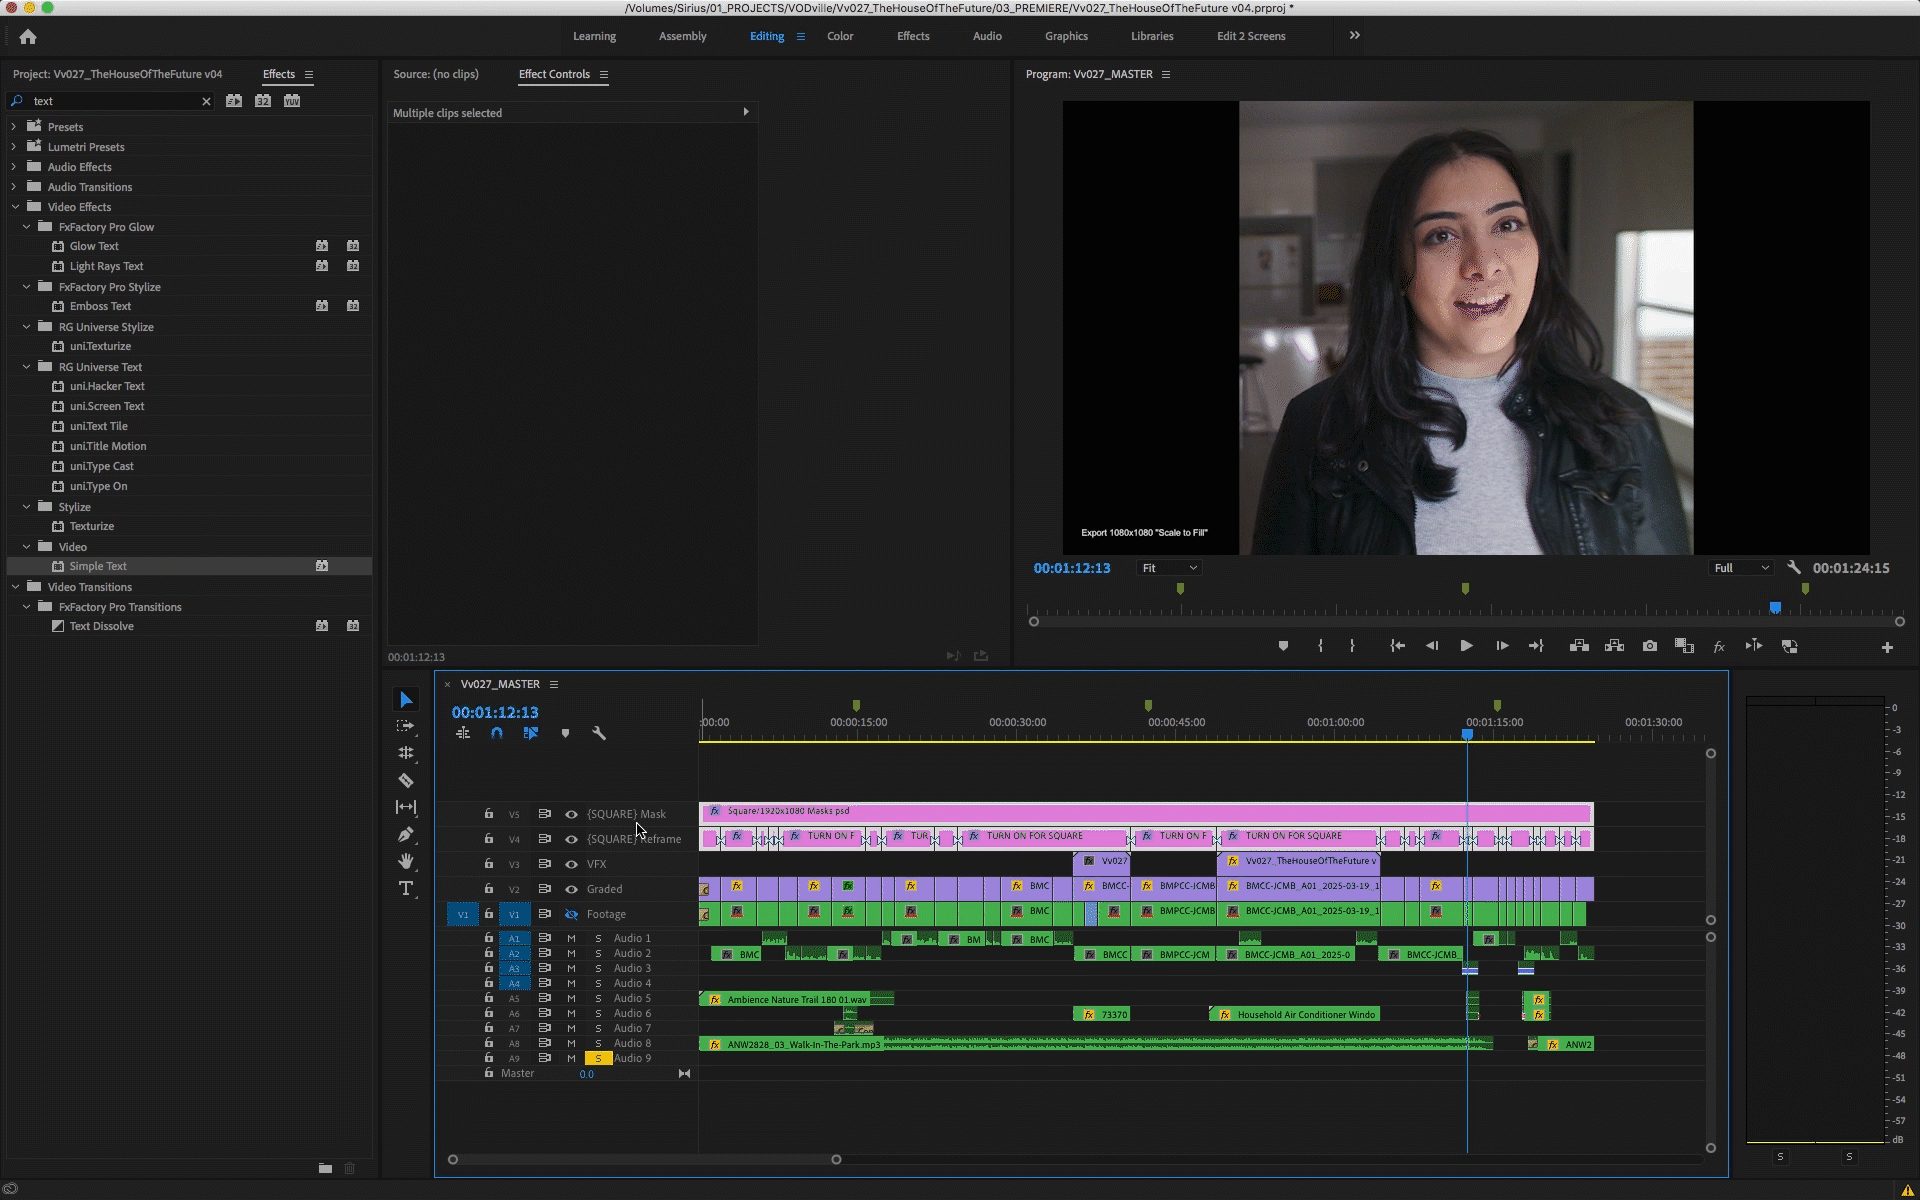
An adjustment layer and a square mask
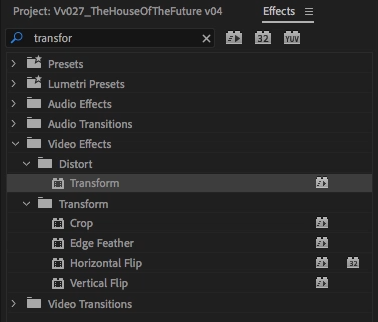
The Transform effect, in the Distort folder
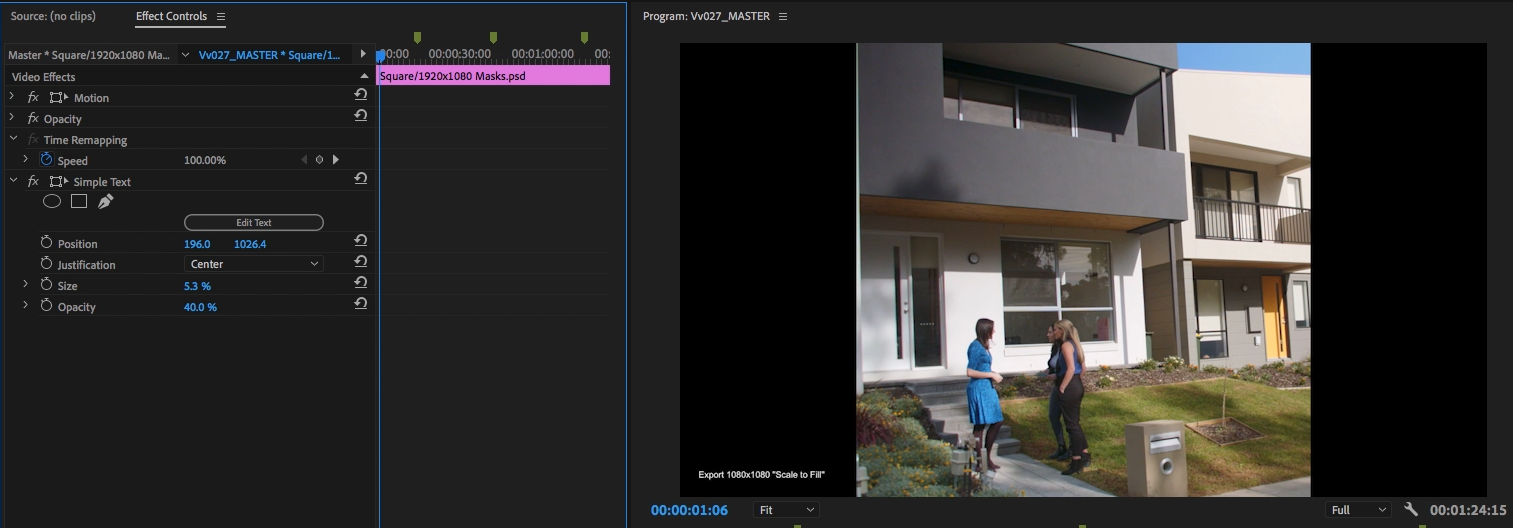
Adding a Simple Text effect on the mask with instructions to crop on output
From there on, it's very straightforward. Cut up the adjustment layer over the shot you want to reframe, and use the Anchor or Position, and the Zoom sliders to reframe each shot that needs reframing.

You can also keyframe any parameter if you can't fit everything in the frame and need a slow pan, etc...
Once done, just toggle the two layers on and off to see the 16:9 and the Square versions.
Once done, just toggle the two layers on and off to see the 16:9 and the Square versions.
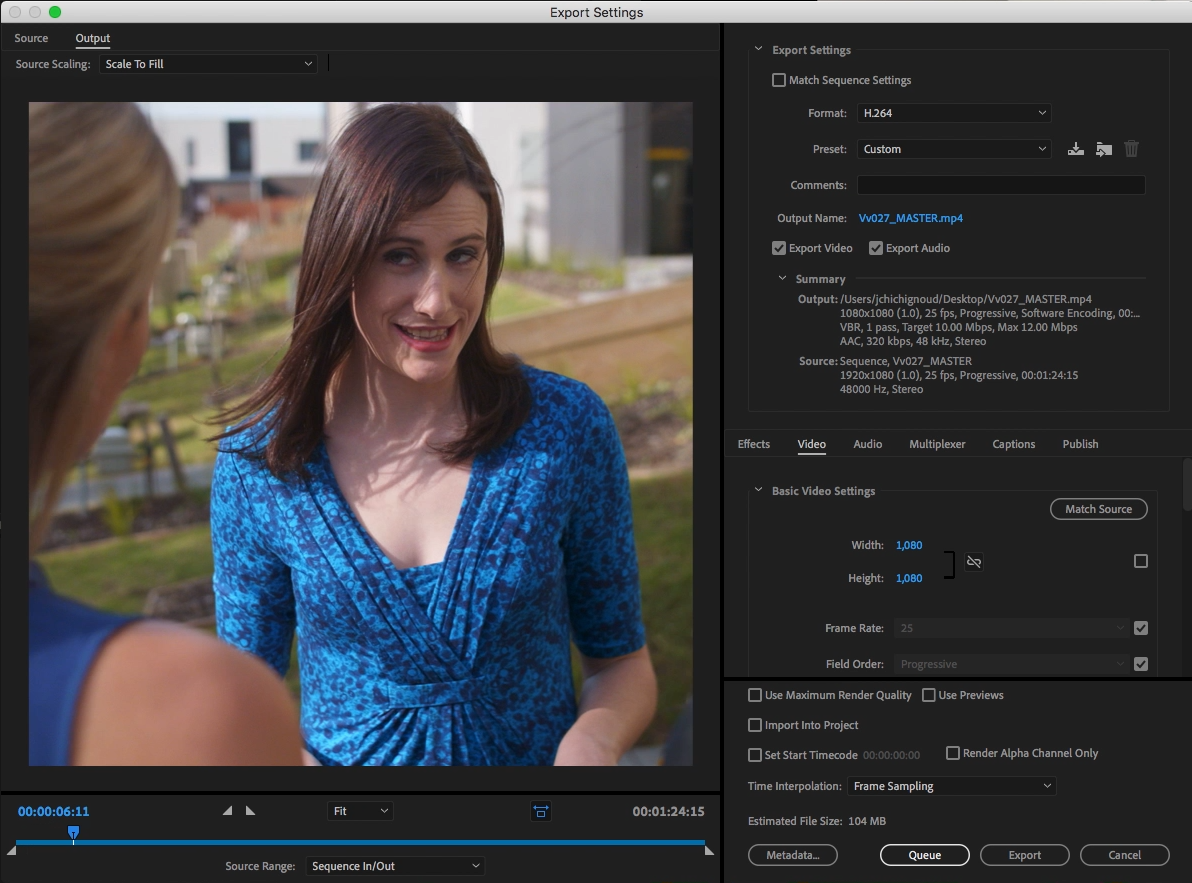
And on output, select the right frame size (in this case 1080x1080) and change the Source Sizing to 'Scale to Fill' in the top left corner.
You can keep working on the sound mix, colour grade (either within Premiere or roundtripping). Personally I send my edit to Resolve and bring it back to Premiere with handles, laying it over the ungraded footage, which means if I do the square version framing before the grade I don't need to redo the framing.
While I love this workflow, there's a couple of caveats to be aware of:
While I love this workflow, there's a couple of caveats to be aware of:
- this obviously only works if your edit is exactly the same in both formats
- zooming in the Transform effect will degrade your image, even if the source footage is scaled down in the layer underneath
- this won't really work if your second format is wider/taller as all the footage will need to be zoomed in
- you'll probably need separate layers for titles and graphics for each version, which can get messy, so organisation is key
- transitions might mess up the reframes
So this won't suit every project, but can come in handy for fast-turnaround and never-fully-locked content (which seems to be most projects these days).